Installing an OS from an ISO image allows customization, such as partition editing and other options. Follow the steps below to install an OS using an ISO image in SolusVM 2.
1. Log in to your SolusVM 2 Control Panel.
2. Under Projects, click on the project that contains your VPS.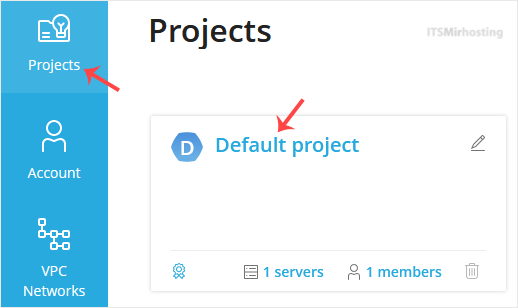
3. Click on the appropriate VPS.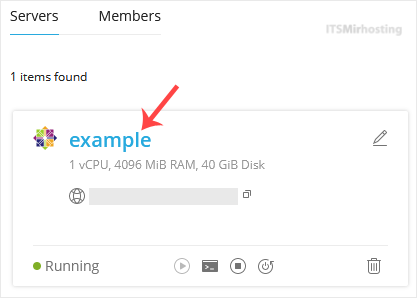
4. Go to Boot & Rescue and choose Boot from ISO Image.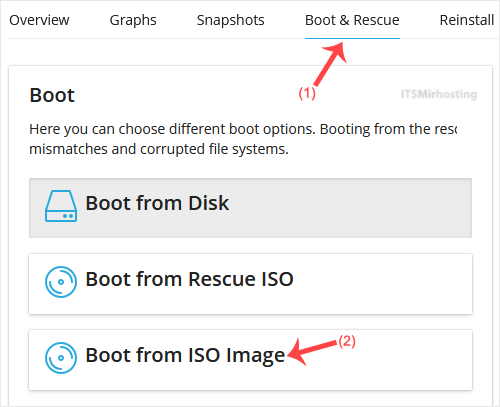
5. Choose the ISO image from the drop-down menu, then click Apply.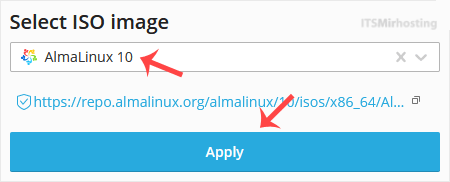
6. Scroll down and click Apply. Then click OK to confirm. Wait a few moments for the server settings to update.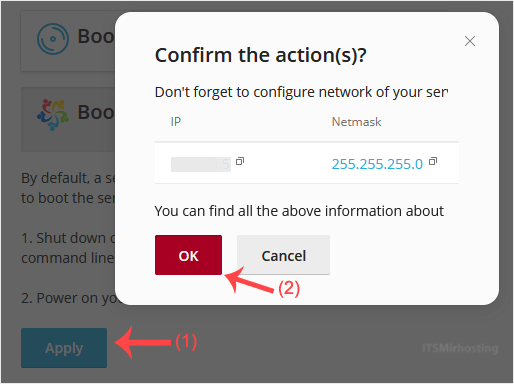
7. Click on Restart located at the top right side, then click Yes to reboot.![]()
8. Click on the VNC dialog icon.
9. The VNC page will open. Press ESC to open the boot menu, then enter 1.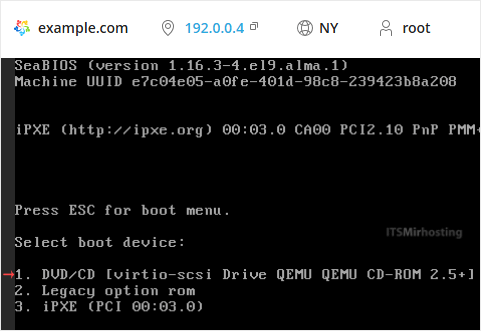
10. Most operating systems ask you to press any button to start an OS installation while booting. When prompted, press any key on your keyboard, and the OS installation will begin. It may also show you an option such as Install OS or Test this media. For an OS installation, select Install OS and press Enter.
Once the installation starts, it will ask you to create a partition, set a password, etc.
After the installation is complete, go to Boot & Rescue, select Boot from Disk, click Apply, and reboot the VPS. Otherwise, it will boot into installation mode instead of normal mode.


